How to prep your car for apply sealant like a pro
If you're wanting to both achieve and maintain a high gloss finish on your car then applying a sealant is a must. Car sealants protect the surface from external elements such as UV rays, road salt, dirt, bird droppings and more.
However, preparation for apply a sealant is key. Well prepared car paintwork will ensure the surface bonds well with the sealant and it'll last.
Preparation steps before applying sealant
- Perform and initial pre wash and / or rinse
- Give the car a thorough wash
- Use a clay bar to remove contaminants
- Ideally use a polishing machine to remove imperfections
- Apply sealant in an even and thin layer
1. Perform an initial pre wash and rinse
Before doing a full or contact wash, it's essential you perform an initial rinse or pre-wash. This is to ensure you remove loose dirt an debris from the surface. This will significantly reduce the risk of causing scratches or swirl marks as you work through the process.
It's advisable you use a pressure washer with foam cannon or hose with form blaster to rinse the vehicle. You should look to couple that with a snow foam soap such as Honeydew Snow Foam.
The thick suds will cling to the surface and lift away dirt gently so you can easily rinse it off without needing to physically touch the car... yet.
Check out or articles on how to use snow foam and does snow foam really work for more.

2. Perform a thorough wash
Now that you’ve removed the loose dirt and contaminants with the pre-wash, it’s time for a thorough wash to ensure your car’s surface is completely clean
Use the two bucket method
Use the two-bucket method to minimise the risk of introducing scratches during the wash. Fill one bucket with clean water for rinsing and another with a quality car wash soap such as Mr Pink. It's pH-balanced to provide a slick, smooth washing experience that won’t strip existing waxes or sealants.
Read more on the two bucket method in our article how to wash a car without a hose pipe.

Always try to avoid washing your car in direct sunlight, as this can cause the soap to dry too quickly and leave water spots.
3. Remove embedded contaminants using a clay bar
Even after a thorough wash, your car’s paintwork will likely still have embedded contaminants that standard washing can’t remove. These tiny particles cling to the surface, affecting the smoothness and appearance of your paint.
To ensure the surface is perfectly clean and smooth before applying sealant, a clay bar treatment is essential.
Read more about how to use a clay bar.
If you feel roughness as you glide over your paintwork it's a indication that embedded particles are still present.
By using a clay bar, you’re not only ensuring that the paint is contaminant-free but also providing the smooth surface necessary for the sealant to bond properly. This step is crucial in achieving a long-lasting, flawless finish that highlights the shine and protection offered by the sealant.
4. Polish the car to remove minor scratches and swirl marks
If you want to remove those minor scratches and swirl marks that you often find on paintwork then you will need to polish. This step isn't for everyone and the equipment required needs to be looked as a long term investment.
Polishing is particularly recommended on older cars where the paintwork will be damaged by oxidation and generally looks duller than it once was.
For details view our range of car polishing machines and couple one up with
Once you’ve polished the entire vehicle, step back and inspect your work under different lighting conditions to ensure no spots were missed. A high-gloss finish with minimal imperfections indicates the car is now ready for sealing.
Also check out our article on how to achieve precision paint correction.
5. Apply the sealant
Now that your car’s paintwork is prepped and polished, it’s time to apply the sealant.
Choose your sealant
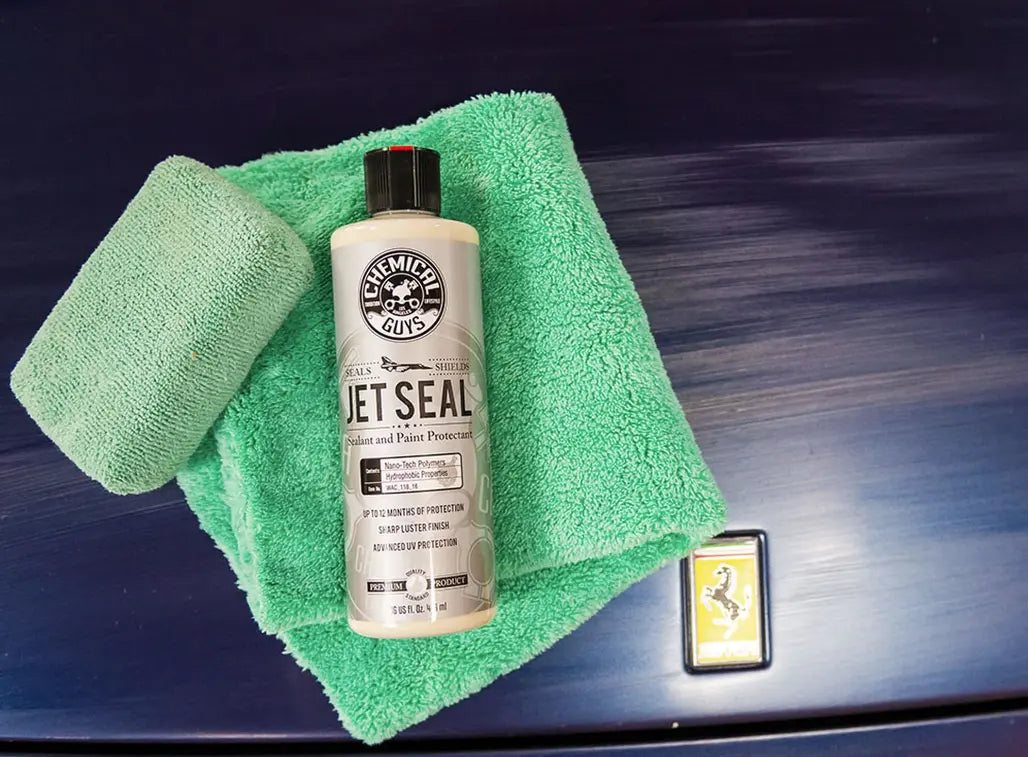
Firstly, choose the right sealant. For a long-lasting, high-gloss finish, don't look beyond JetSeal. It provides durable protection, making it an excellent choice for anyone wanting to maintain that showroom shine while safeguarding the paint from UV rays, pollutants and water spots.

Apply with an applicator
Squeeze a small amount of Jetseal onto a applicator pad. Apply it to the car’s surface in thin, even layers, working one panel at a time. Use gentle, circular motions to ensure full coverage, but avoid using too much product - thin layers bond better and are easier to buff off later.
Buff off with a microfibre towel
Use a clean microfiber towel to buff off any residue. Work in gentle, circular motions, ensuring a streak-free, glossy finish. You’ll notice an immediate enhancement in the depth and clarity of the paint.
After buffing, take a moment to inspect the vehicle in different lighting conditions to ensure there are no missed spots or streaks. If you notice any uneven areas, go over them again lightly with a microfiber towel until you achieve a consistent, high-gloss shine.
